Showing posts with label projects. Show all posts

Sunday, April 21, 2013

Isabella New Digs

A little while ago we decided that our rat Isabella's cage was too little and boring. So we set out to make a cage out of some wood left over from the bookcases and shelves I made for the boys bedroom.

We screwed the boards together and made a shelf and a divider with two holes for her to climb through then we bought some hardware "cloth" which is basically wire mesh and stapled it to the back and to the door that we made out of the basement railings that we took out  when we finished the basement.

Later I made a latter out of some balsa wood I had and we got some large PVC connectors and made a little play tunnel. She seems to enjoy it and the kids like to watch her play around in it.

Thursday, June 28, 2012

Family Tree Wall - A Vision Realized

I had this vision to make a family tree in our vast entry hallway that would represent both sides of our ancestors and our own family. I looked for inspiration on the internet and found some of what I envisioned, but nothing quite like what I had in mind. After toying around with the idea of cutting a tree out of wood and putting it on the wall I settled on simply painting the wall. Here is how I did it in case anyone ever tries to do the same thing. I will also share the image of the tree I made for downloading.

To do this I needed:
  • 28 frames - I decided to use silver ones from the dollar store that were all the same size.
  • Pictures of our parents, grandparents, and great-grandparents. I tried to get photos of them around middle aged so we could see what they really looked like
  • A way to attach/hang frames on the wall - I used foam wall stickers
  • exacto knife
  • spray adhesive
  • paint and paint roller
  • tree design


This image shows how I designed the tree using Photoshop. Illustrator would have made this a bit easier but I don't have it installed on my computer right now. To get the final tree lines I used the pen tool after free handing with the paint tool.
Next I made the tree life size in photoshop which equaled a very large file size. Thinking about it now, there are other ways I could have done this, oh well. I made a grid and printed each part then taped them together. I then put it on the wall to check the size and placement. I made marks on the paper and wall so I could line it up again later.

I then laid it on the table, grabbed my exacto knife and cutting board and carefully cut out the tree. To keep it from getting all weird I taped strips of paper across sections as I went.

Here it is all cut out and held together with strips of paper.

I read online that you could spray a stencil with spray adhesive, let it dry for a few minutes and then if you put it on the wall it will stick but not permanently and it won't leave a residue. Perfect. So I did that.

I then carefully carried it to the wall and stuck it there.  It worked.  Probably would have been easier with another person though.

I got out the mini foam roller and my paint and carefully rolled on the paint. At first I did it lightly, but then the paper started getting too wet for my 2nd and 3rd coats so at the end I painted a heavier coat just once or twice. 

Lastly I pulled off the stencil and threw it away. Using paper this stencil can only be used once, but I didn't need to use it again, so that didn't matter.

All done and ready for the photos.

Earlier I gathered the photos from family,  formatted them in photoshop to the right size, printed them at the photo center, cut them out and put them in the frames. Each one was attached to the wall using a foam wall sticker. I also considered using command strips. 

My frames had a stand on the back that I couldn't remove that made it so the frames weren't flush. To remedy this I cut out little squares of cardboard and hot glued them to the center back of each frame. I put the foam sticker on the cardboard and then it could stick to the wall. Clear as mud?


All done. Yay.


For the last part I need a new family photo that I am going to frame and put on the trunk at the bottom. Then as our family grows up we can put a new photo in every year or so.

I love seeing our ancestors and seeing how much they look like us or each other and I hope this way my own kids can be familiar with their great-great-grandparents on down.

Saturday, August 27, 2011

With a Matching Diaper Bag


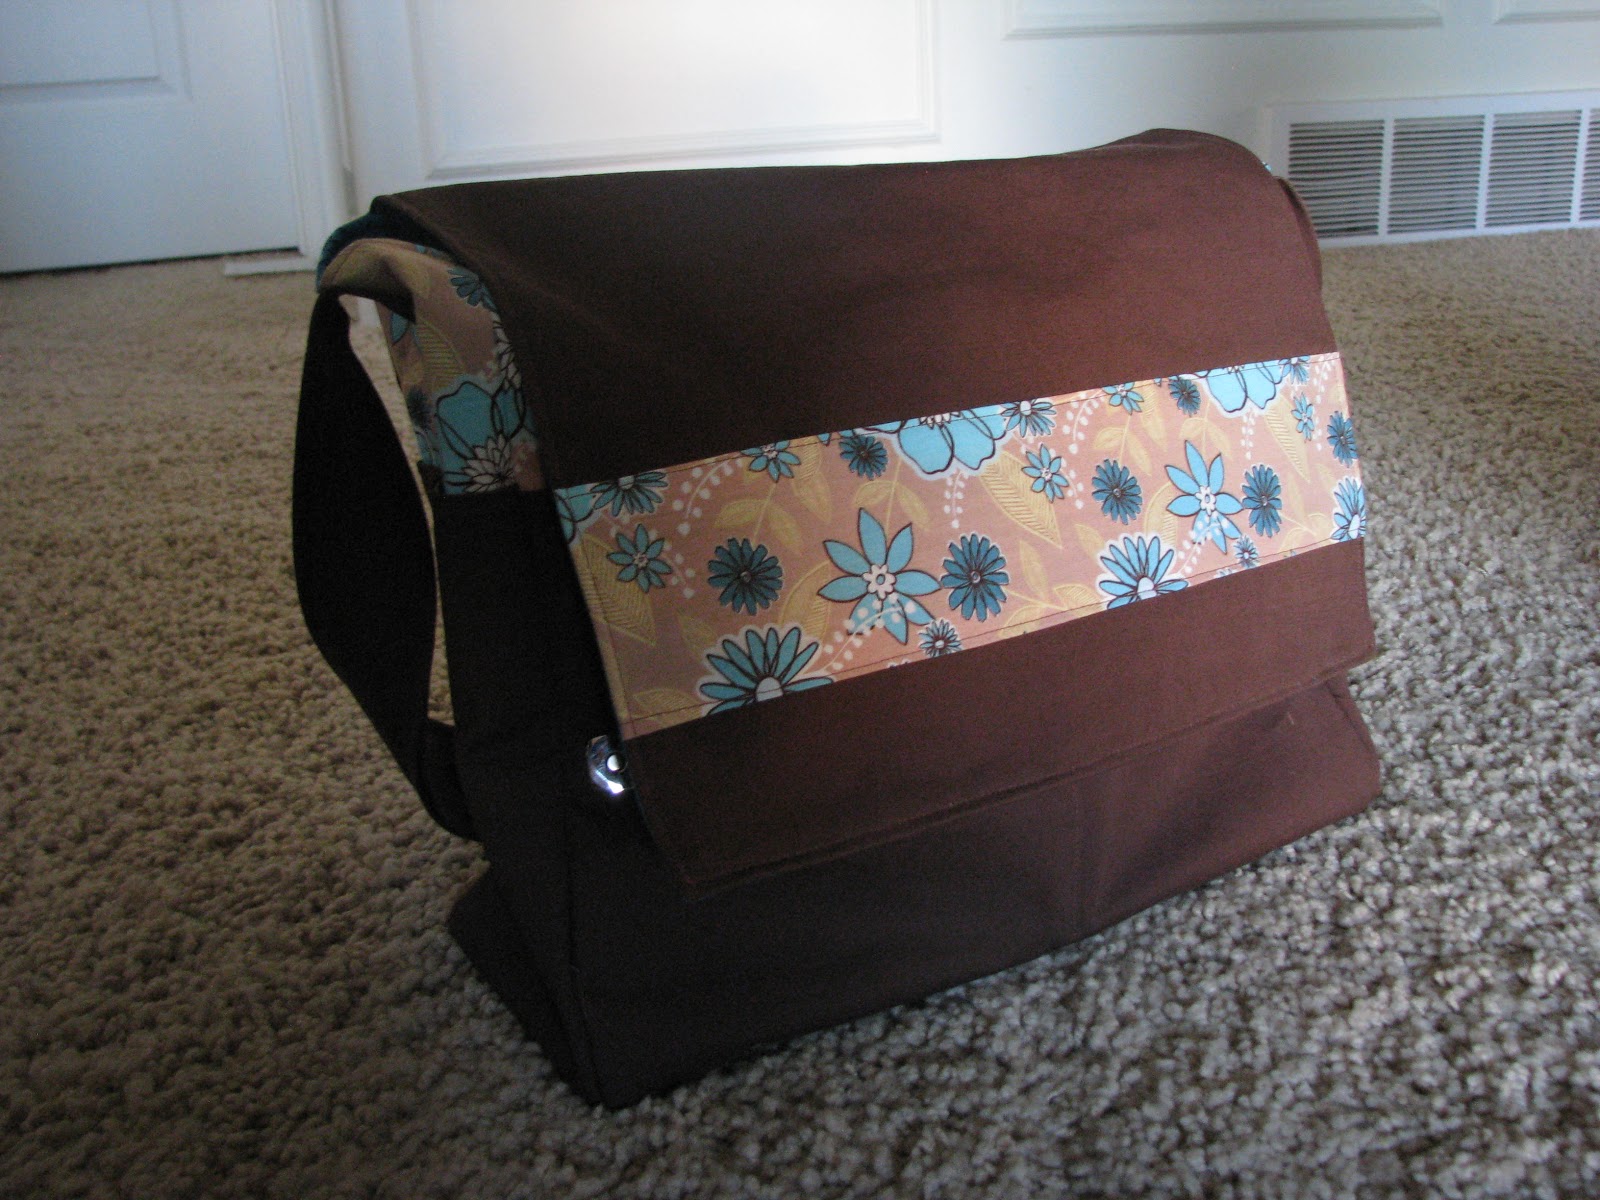
Though the kids, house, and dinner were thoroughly neglected, I made a messenger style diaper bag to match the mei tai that I made. I used a tutorial that I found online called the Hip Mama Diaper Bag. I made a few changes, but basically followed the directions.

  • I omitted the velcro on the pockets
  • I made the elastic 12 inches instead of 10
  • I changed around the style a little and added a couple strips of patterned fabric on the flap and back piece among other things.
There are a ton of pockets inside and out. 


The back of the bag has a zippered pocket.

It probably took me about 7 hours total to make including the various child interruptions.

Friday, August 5, 2011

Mei Tai - Made!

One down.. how many more projects to go... we'll see. I finished the mei tai this morning. I sorta followed this tutorial especially with the basic body design and the straps. I decided against the hood. Instead I decided to make it look more like a Baby Hawk mei tai with a top that can fold down, so I extended the top part a few more inches and added padding to that part.

Now I just have to get one of my neighbors to try it out on their babies to make sure it'll work... anytakers?

33 weeks and counting by the way!

Thursday, June 16, 2011

Is this considered nesting?

I have been busy lately making a mental list of projects for me to do which will keep me busy for the rest of the summer. I've lately run across a bunch of great ideas for sewing boys clothes. I would like make some of these racer shorts from www.dana-made-it.com for the older boys.
For Will I would like to try to make some of these cute t-shirts call the 90-minute shirt. The tutorial is also from dana-made-it.com and the boy in the picture is her son. So cute!


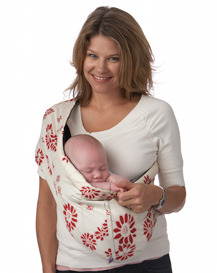
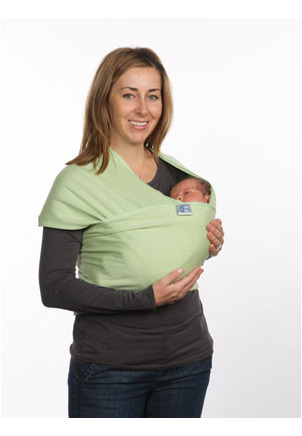
Next I have projects for the new baby. I have been noticing a lot of women in my ward using various slings to hold their baby while they are at church and I'm sure they use them at home and elsewhere. So I've been researching the different kinds of slings and how difficult it is to make them and I'm probably going to end up making 3 different kinds.

Now the term I guess people use is called "baby wearing" since instead of holding the baby you are wearing them, duh. Here is a link to a post about the different kinds of slings/carriers for baby wearing. Some are easier to use but don't offer a lot of support/comfort and others are comfortable and supportive but use a lot of fabric. A neighbor gave me her extra pocket sling so I already have one of those.
I am planning on making a ring sling and a wrap sling by buying a bunch of yards of fabric, cutting it lengthwise, do some hemming and voila. They are pretty easy to make.

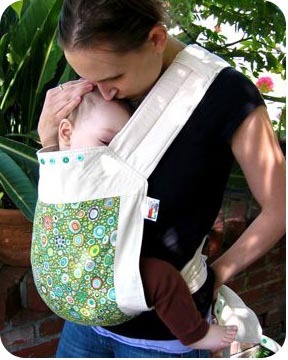
At first I ignored the mei tai, but then I started looking at them more and found them to be a compromise between support and not too much stuff wrapped around you like the wrap. You can also easily put the older child on your back. The only downside for the mei tai is that it doesn't seem as supportive and comfy for the newborn/little baby. I found some good tutorials for the mei tai and I believe I could fairly easily sew one up.
I'll probably end up using the pocket sling for times when I am sitting a lot, like at church. Or for quick baby wearing. I would probably use the wrap and ring sling for longer periods of time especially for the baby when she is little. Then the mei tai will be used when the baby is a little older and for longer periods of time.
 
The Joy of Being a Mom and of Being Me - Free Blogger Templates